Näytetään tekstit, joissa on tunniste props. Näytä kaikki tekstit

tiistai 10. kesäkuuta 2014

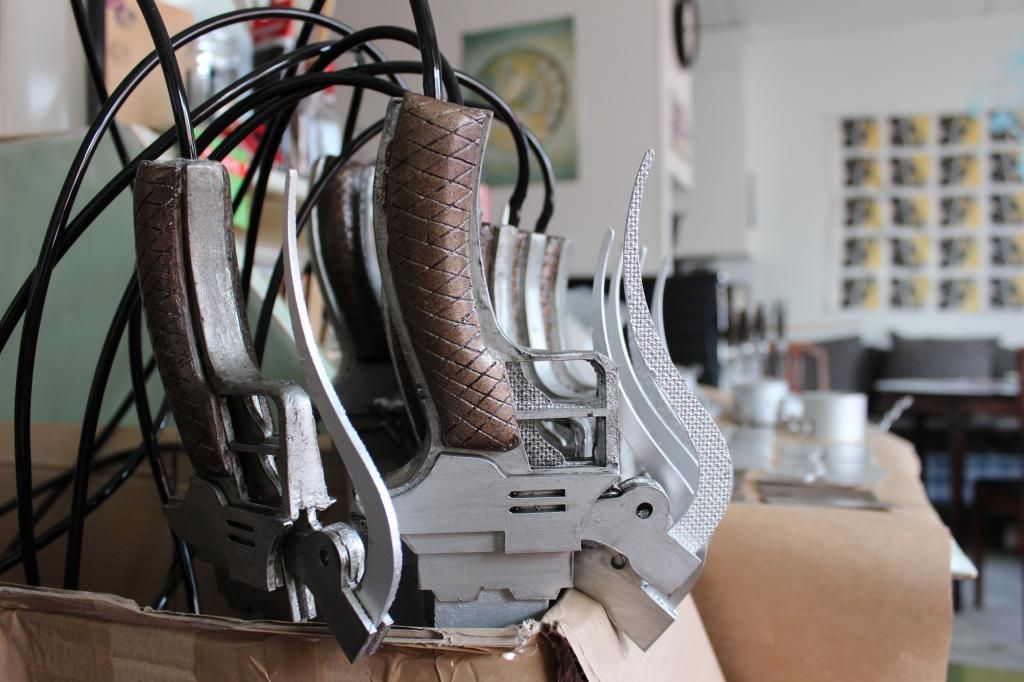
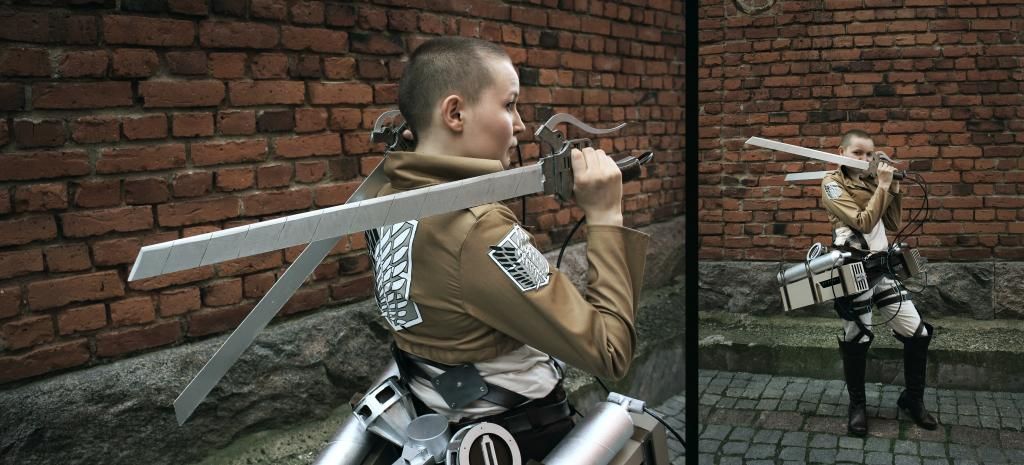
3D manouver gear


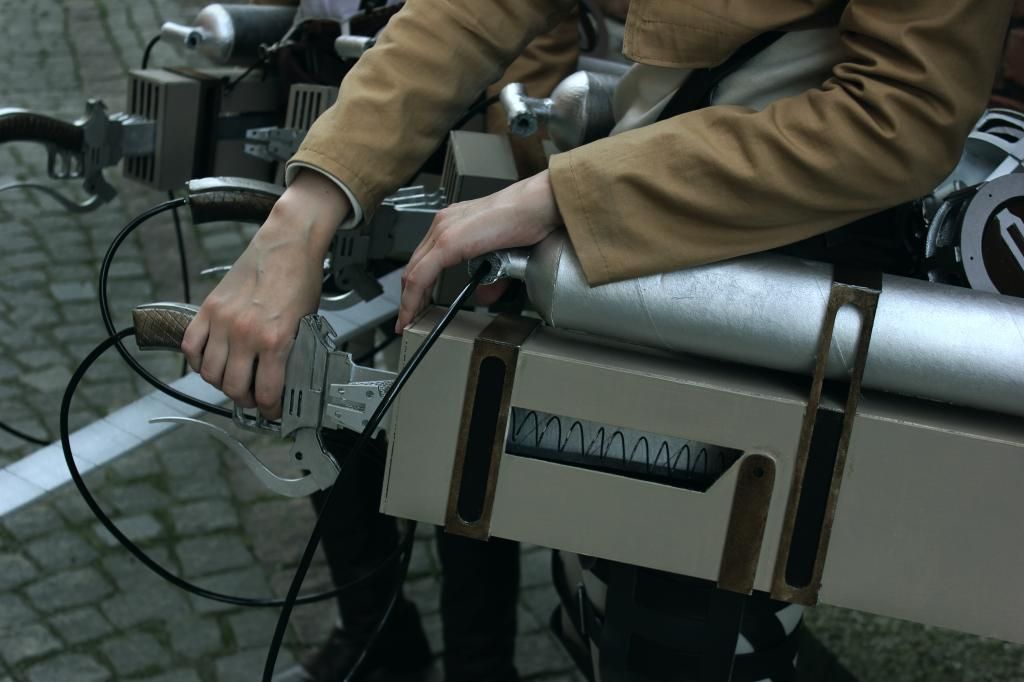
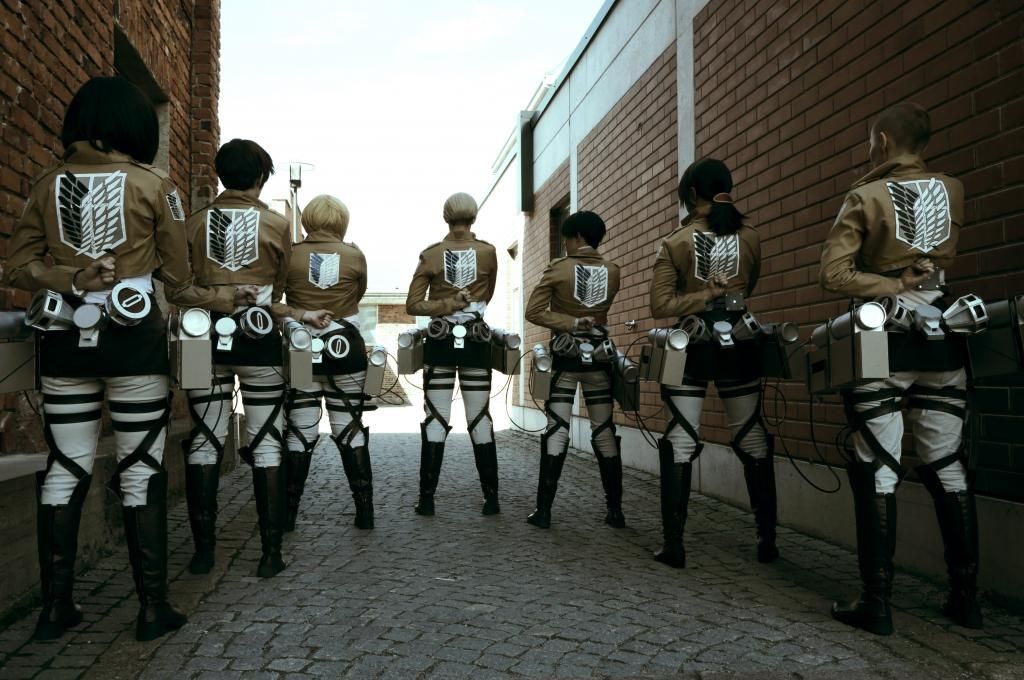
Revisiting the cosplay scene with an awesome group of friends. I guess I would still cosplay if it was only the props. On this project I didn't have to touch the sewing machine.

Making seven sets of manouver gear was a big challenge for me. It took two months of planning, drawing, building and painting. Could not have done it without the groups support. All of the members put so much effort on both the props and the costumes.

Here are the results! Hope you enjoy!


torstai 5. kesäkuuta 2014

torstai 1. toukokuuta 2014

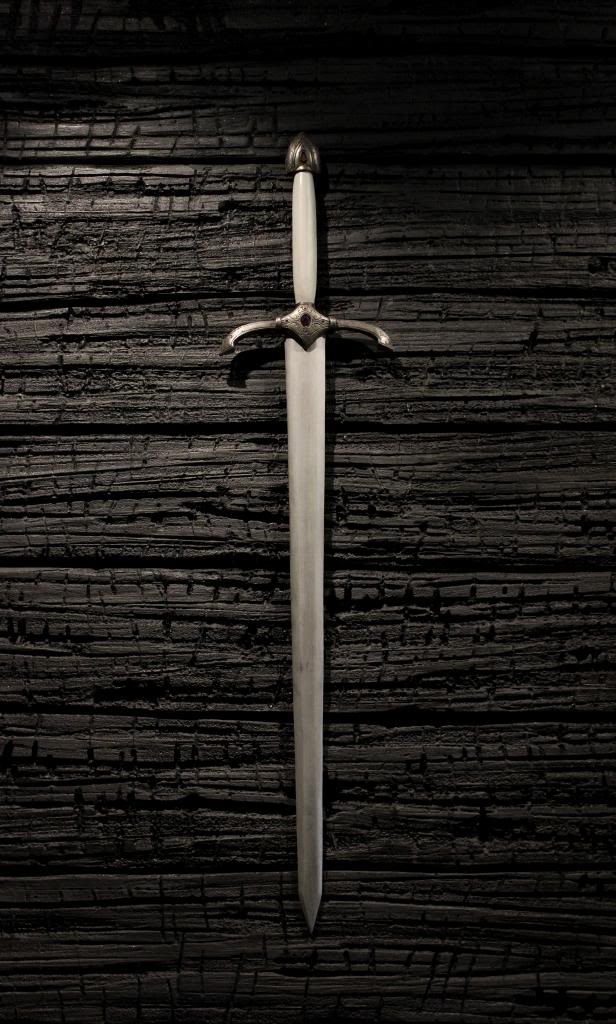
The young lord's sword


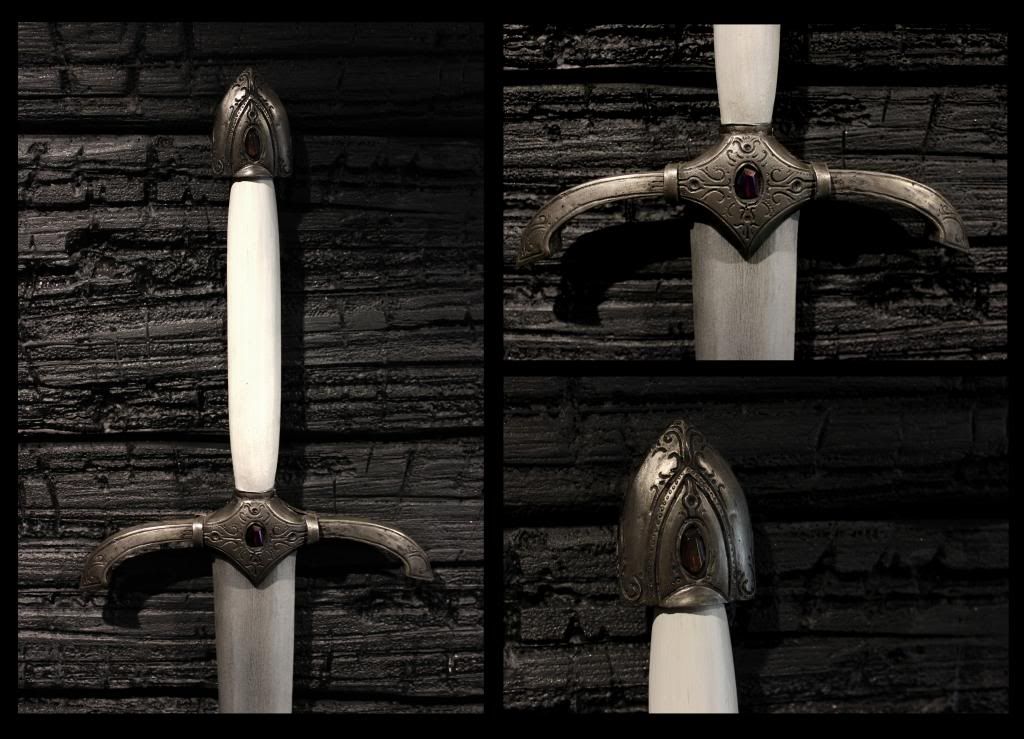
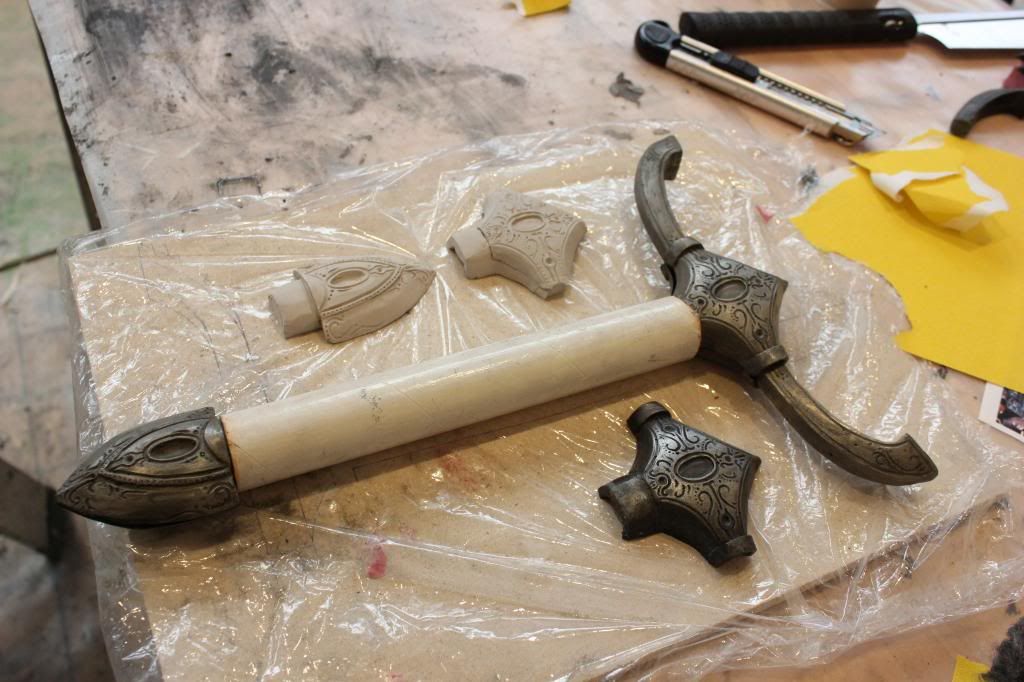
Two weeks of sculpting, molding, casting and painting resulted in this sword. I'ts going to appear in a fantasy short film inspired by slavic folklore. I'm so excited to see it in action!

There's still some details to finish up. The handle is wood, blade plywood. Both shaped by sanding and then painted. The cross guard was originally sculpted from clay and then molded and cast from polyurethane resin. Black pigment and silver powder was applied to the resin in the casting process. The silver powder could then be polished after the cast was cured. 

The background wall was also made by me. This was a first test in carving and melting urethane board. I'm quite happy with the result!


perjantai 11. lokakuuta 2013

Gonthrion

Sorry about the silence! I've been waiting for a good opportunity to share a part of a project that took most of my time last spring. I was part of a props team in sci-fi short movie Gonthrion. We made couple of pretty cool armors and weapons. The movie is currently in post production. I'll be sure to post something here when we get the final result. More information from http://www.gonthrionmovie.com/


perjantai 12. huhtikuuta 2013

Coral chair making of

I finally got the inspiration to continue my masking tape experiments thanks to a material course we had in school. I also had a broken chair in my living room waiting for me to fix it so I thought this was the perfect chance to make it into a whole new object. The chair and the costume are something I wish to get properly photographed in the near future but in the mean time I'll present you the making of pictures.

This is the original chair.
And this is what I brougth to our final exhibition.


I think I spent about 20 hours with this chair project and the coral vest. It took a lot less time than I thought it would. Most of the time I was rolling and painting tape. It was actually quite fun and if I had more time I'd make more of it. Here are some pictures of the process.

First I sanded the whole thing and gave it a rough look. I also shred the fabric a bit around the edges of the seat. After sanding I gave it a very light wash of gray paint and varnish. Then glued a shreaded net to make a base for the tape corals.

Dremel is my new favorite tool. I used a set of small grinding tools to carve holes and cuts on the chair. Added some dark patina and and other layer of grey paint. Gave it a light sanding after that.

Then I spent couple of days just rolling the tape. I think I used at least two rolls for these. So that's about 100 m of tape. Should have had even more variation with the sizes. Making the smallest pieces took a lot of time but the bigger rolls don't really look that good in close up.

Painting these things proved to be a challenge. I didn't have access to the perfect shade of spray so I had to sink all of the pieces into paint in order to get the color inside the tubes. After a day of  drying I sprayed a thin coat of white to make highlights.

Finally I glued the stuff on the chair. Should have had more of it and in much smaller scale to get the look I really wanted. But as we all know there are only 24 hours in a day.


Stay tuned for the photoshoot!

sunnuntai 16. joulukuuta 2012

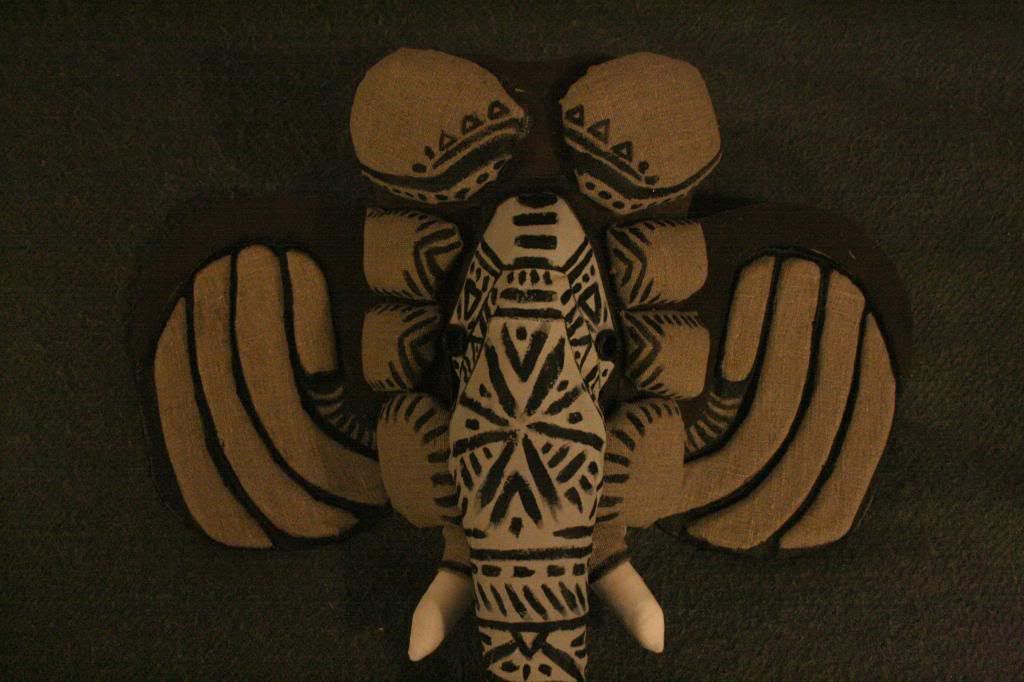
Making of the Elephant mask

I've shown you the masks I built for Round the Outside music video. I also want to show you how I actually made the elephant mask. It was an interesting piece to work with and a challenge. I knew it was going to be guite big and heavy. It had to be durable and sit tightly on the actors head so that they would be able to dance. Also the trunk had to be made so that it could be hooked to a smoke machine. Jeremias also wanted it to curve upwards so he could easily shoot the smoke coming out. So there was quite a few things that I had to consider when building this. Luckily it turned out great with a bit of testing. 

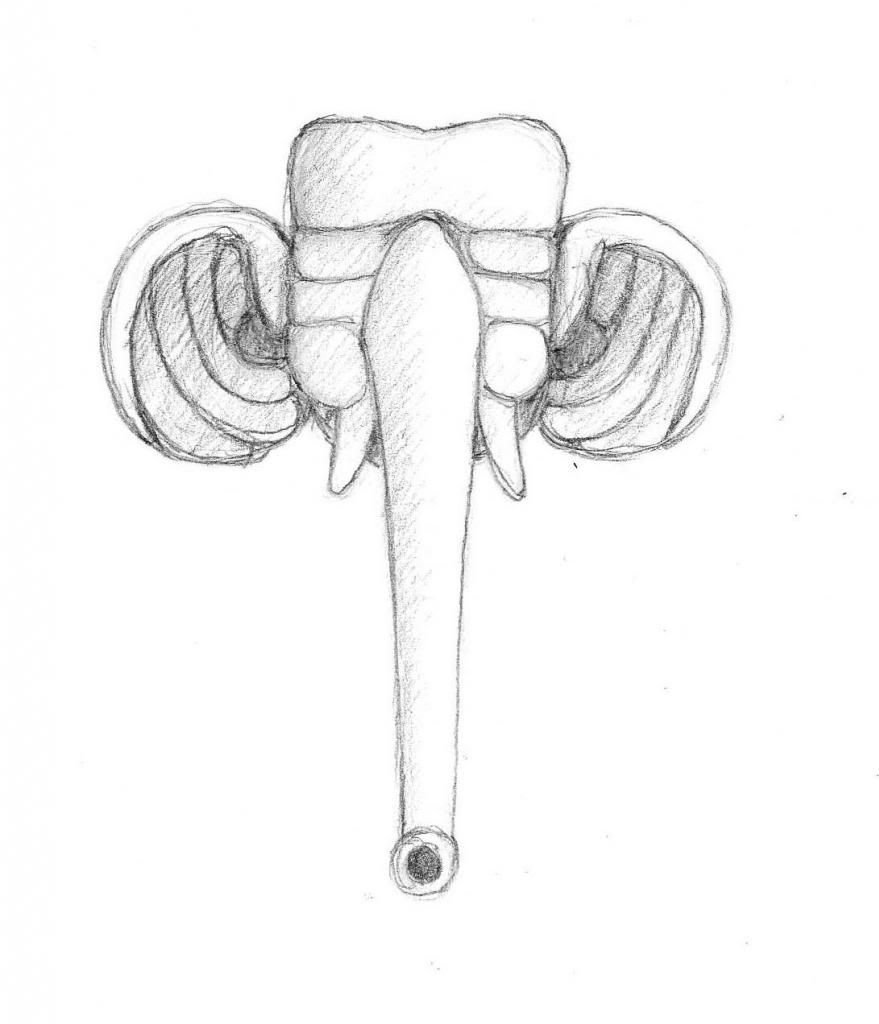
This is the first sketch I made and which Tuomas and Jeremias approved.


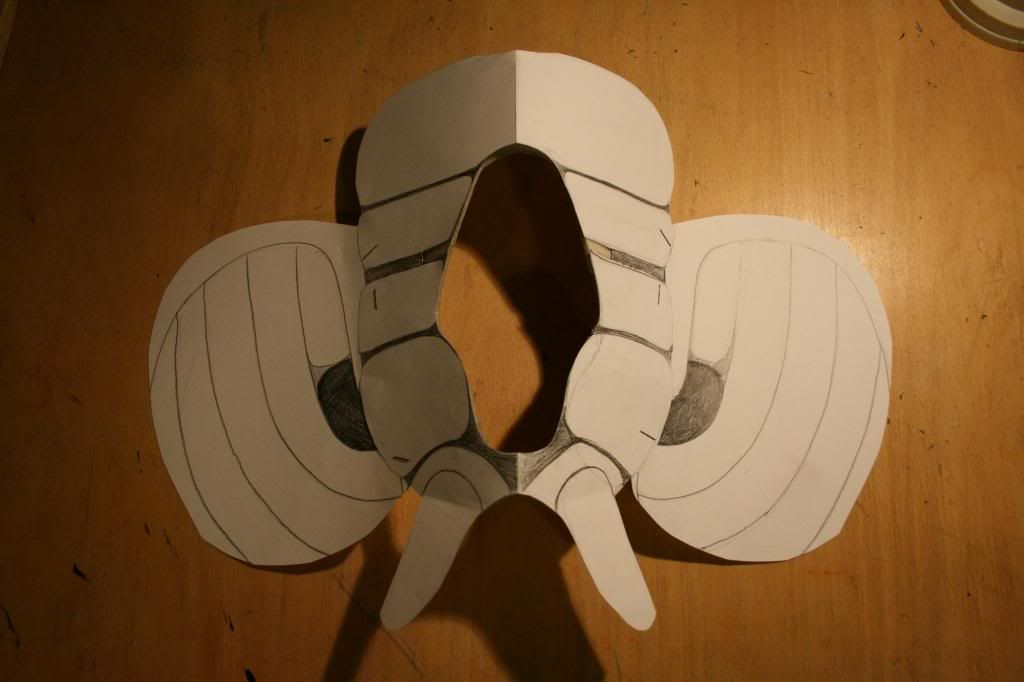
I drew this again in the right scale and cut it out to test the proportions. It's always a bit hard to evaluate how the thing will look like as it gets more three-dimensional. You'll easily make the mask too big when testing with a flat paper model. I had to modify the proportions of the sketch quite a bit. The faceplate is widened and ears were made smaller.


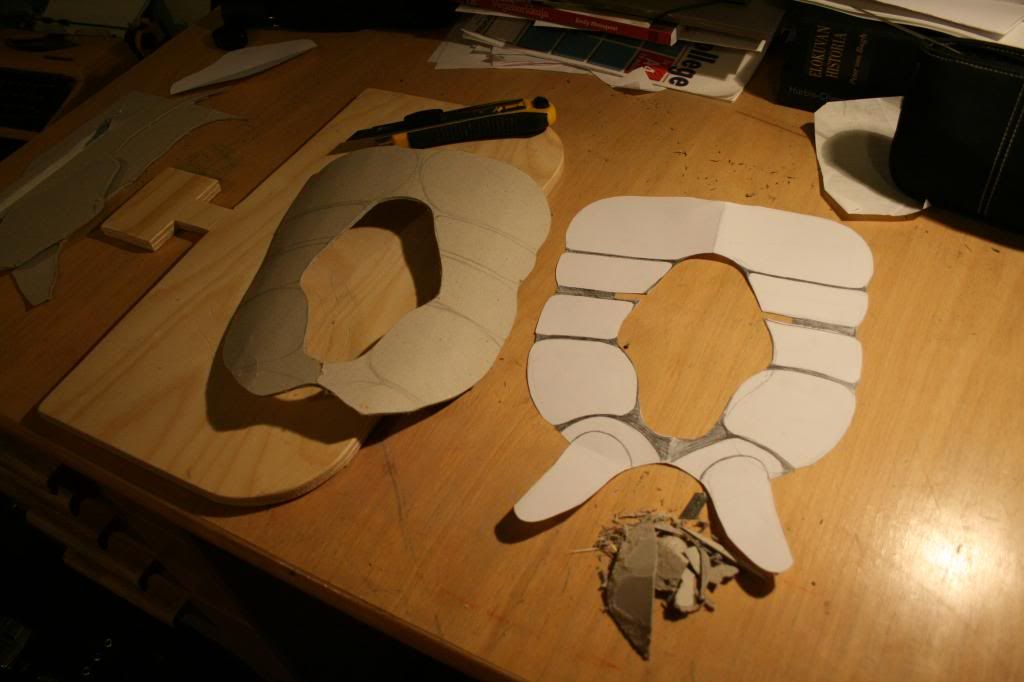
I cut the base of the mask out of very thick and hard cardboard. This is the kind of stuff that's very hard to cut with scissors or a knife. I had to switch to a small saw at one point. The good thing about cardboard is that its cheap and easier to handle than most materials. It wont be durable though unless you glue it in layers and coat it with something waterproof.


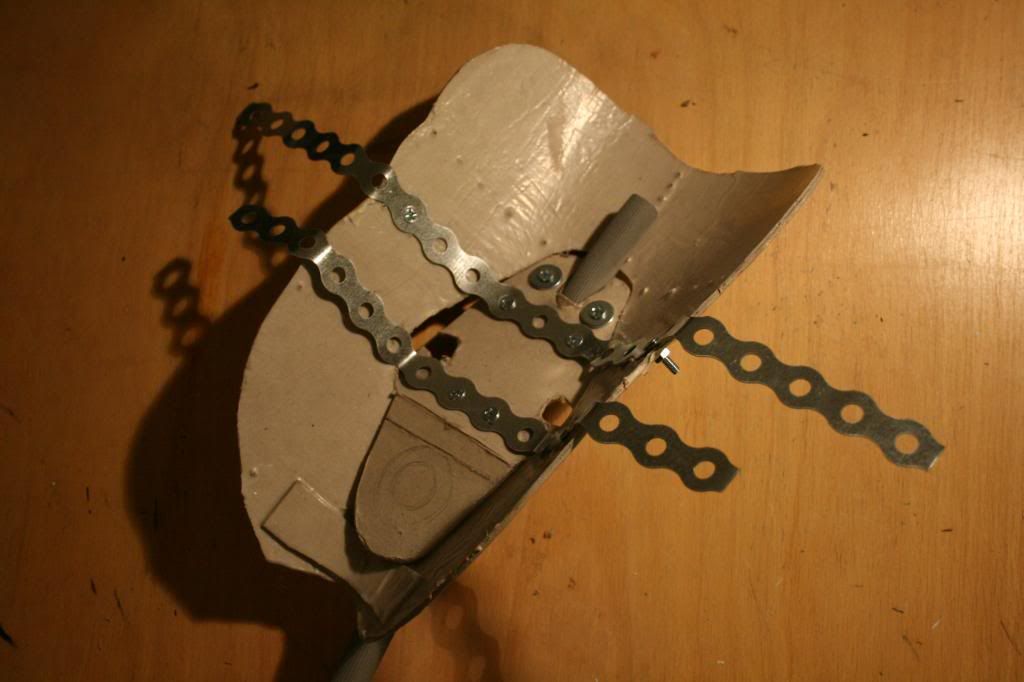
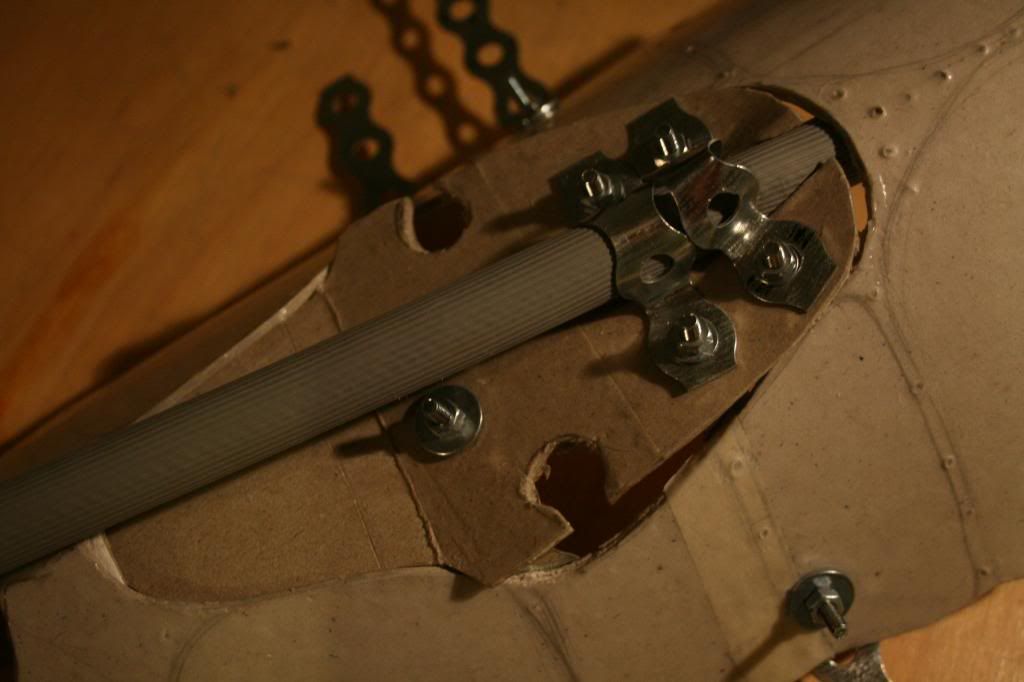
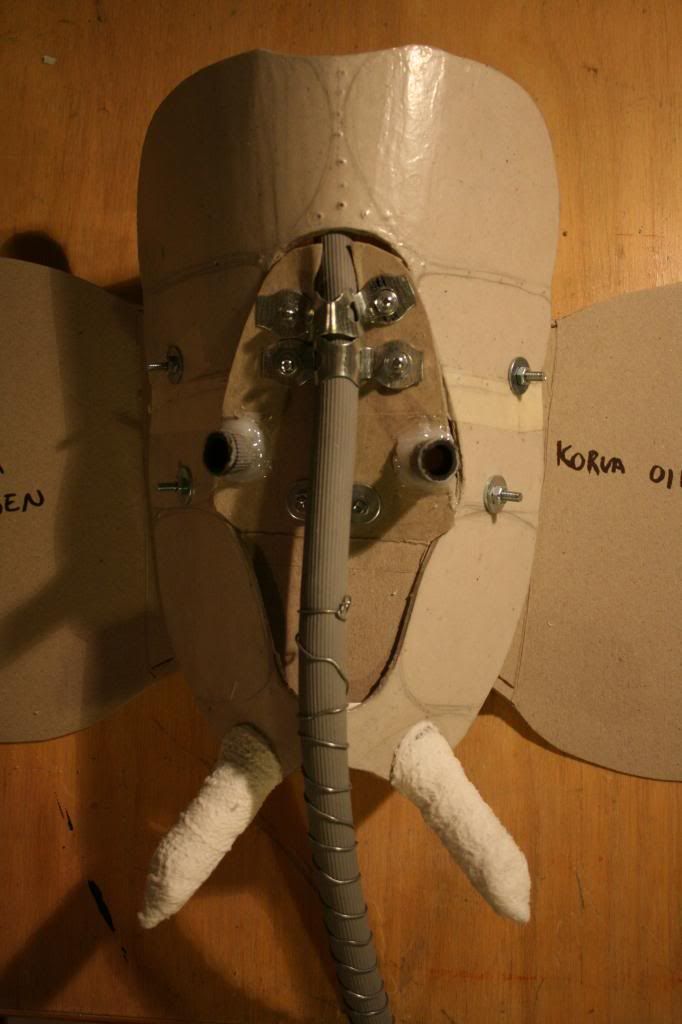
I also made a frame from metal which keeps everything together. My main concern was the trunk because it was going to take on some serious beating in the dance scenes. It had to be attached so that it wouldn't come off even if you swing it around or bumped into something with it.


The base of the trunk is actually rubber tubing from an old waching machine. The eye holes and tusks are made of the same tubing. Tusks are covered with layers of gauze and nylon for a soft edged look.


At this point I nicknamed him Frankenstein's Elephant for all the metal and screws sticking out of his face.  Here's the base leather getting glued and the shapes of his face fabricated.


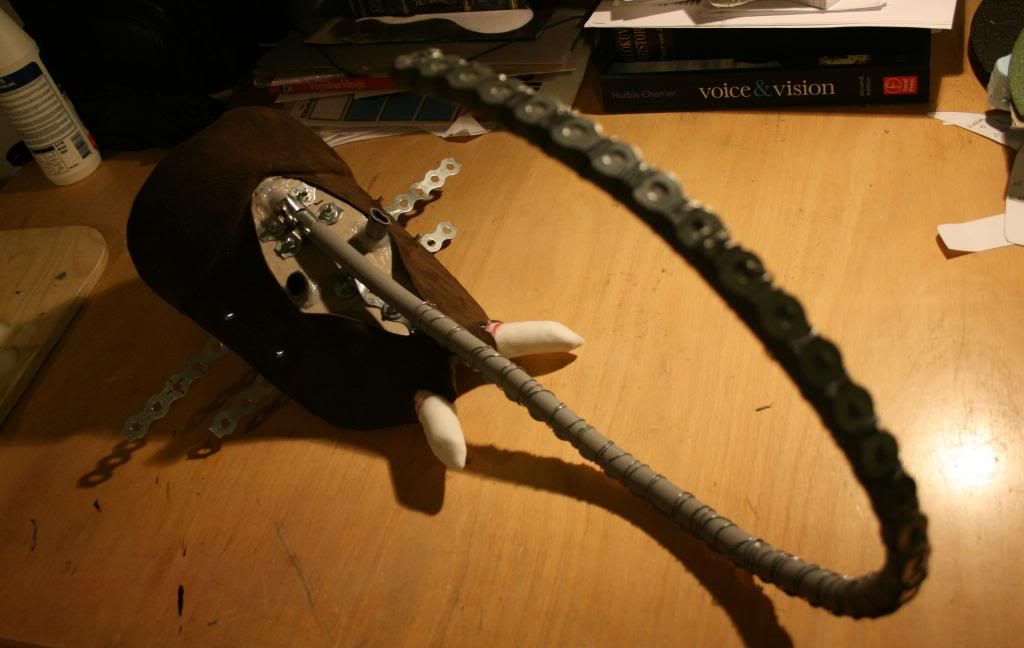
And the trunk curved to it's final position. It could be adjusted later on by bending the metal.


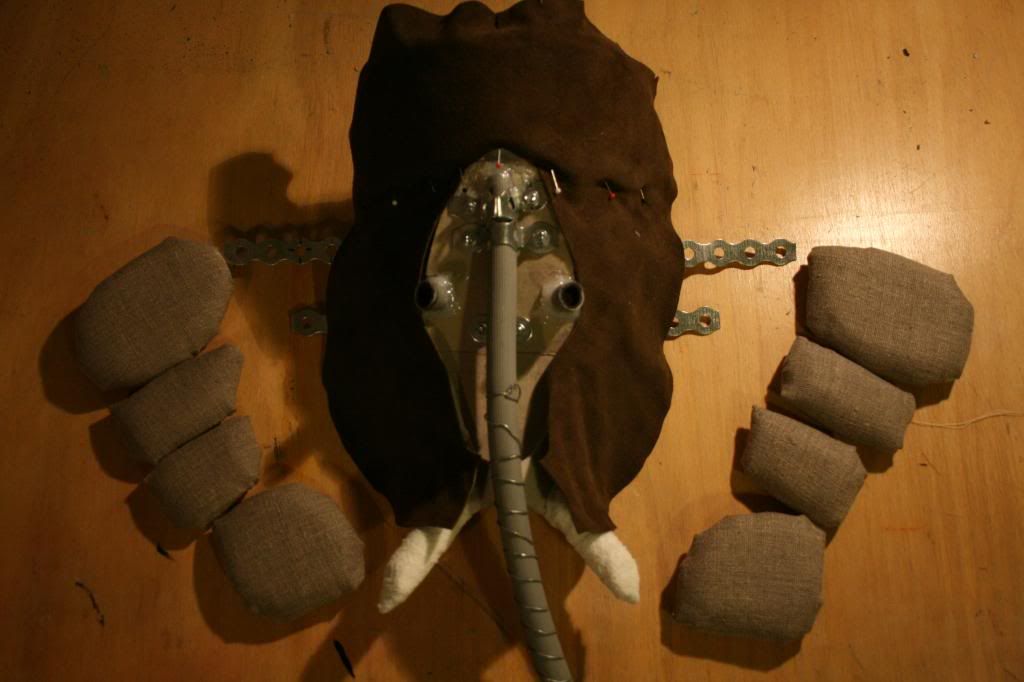
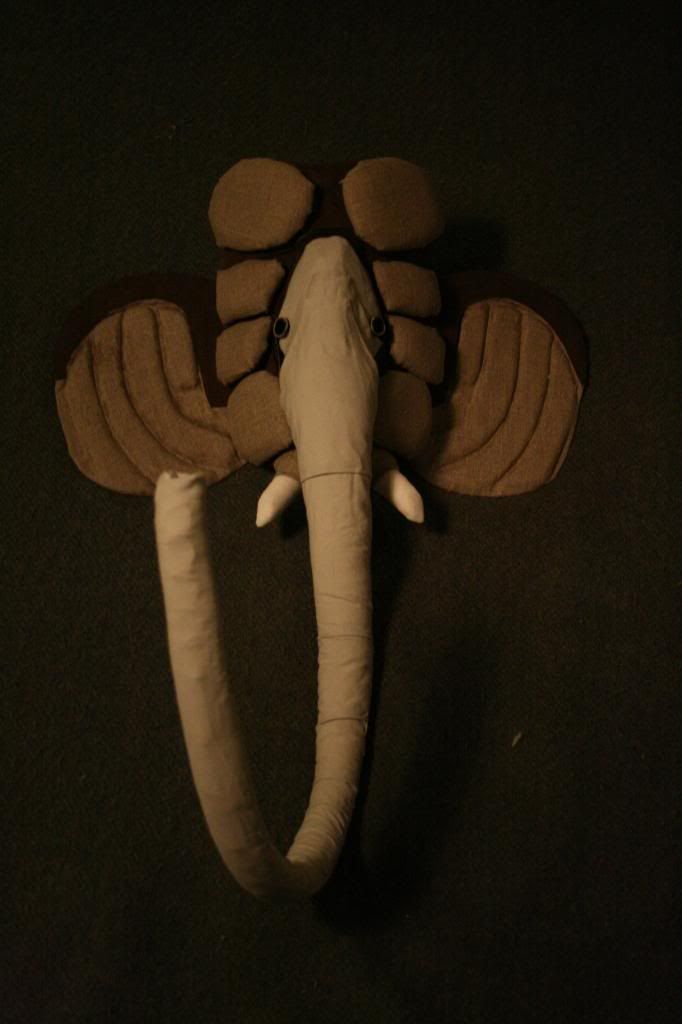
Test assembly with the trunk fabric and ears. Nothing is fixed to their place yet so I could change the positioning of things if needed. It's very important to see all the pieces together before doing anything irreversible.


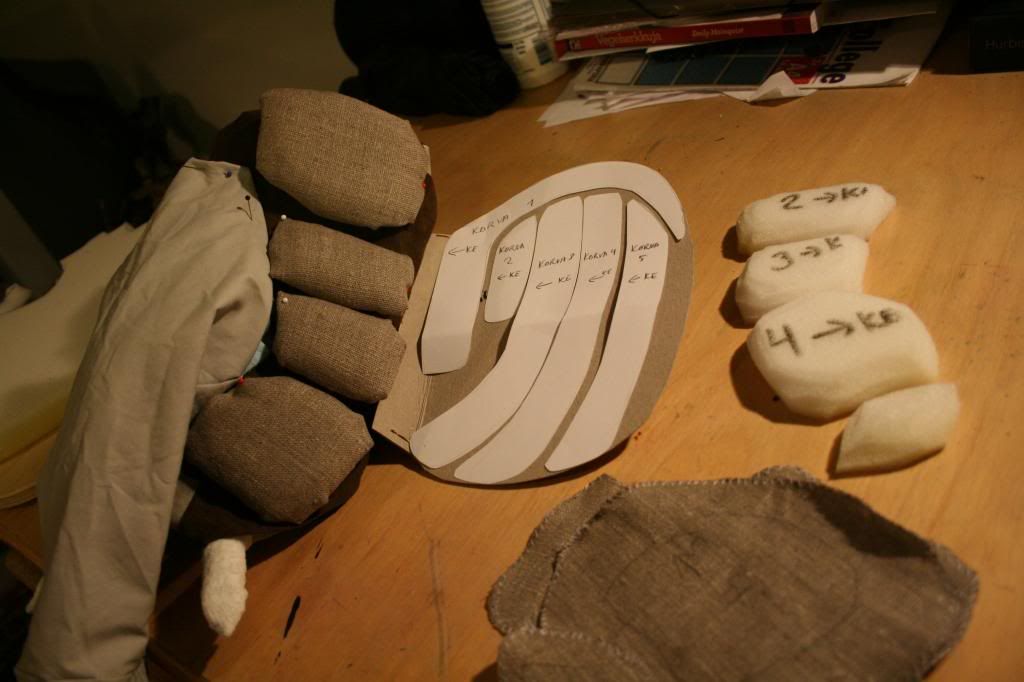
The trunk and ears were filled with finnfoam, gauze and different types of foam rubber. The trunk fabric was glued to the base. The same thing was done to the ears and shapes on the face.


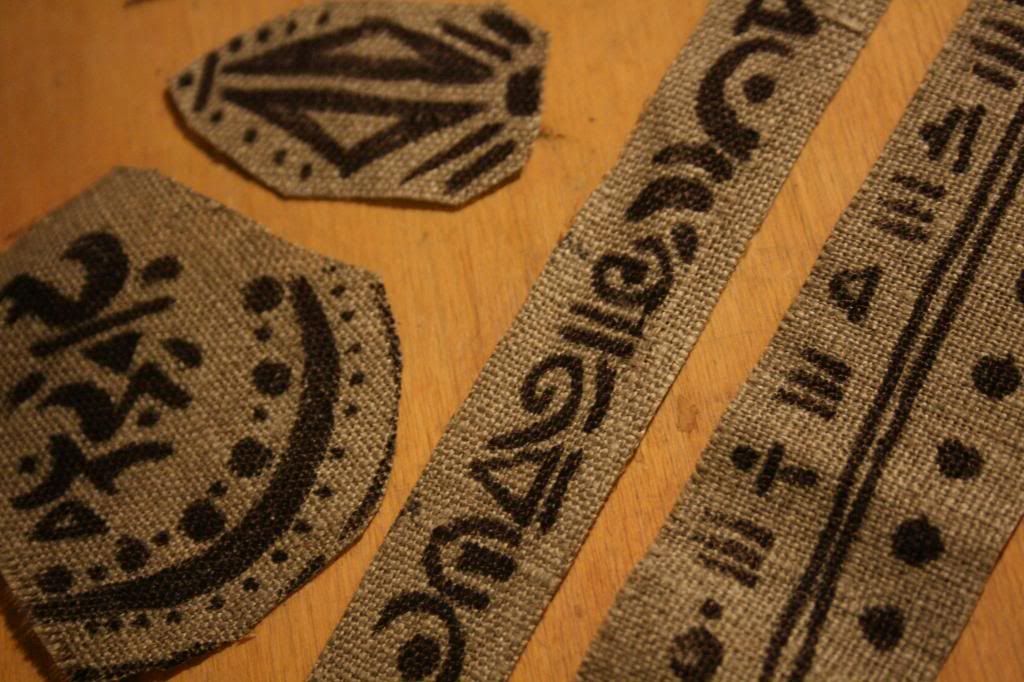
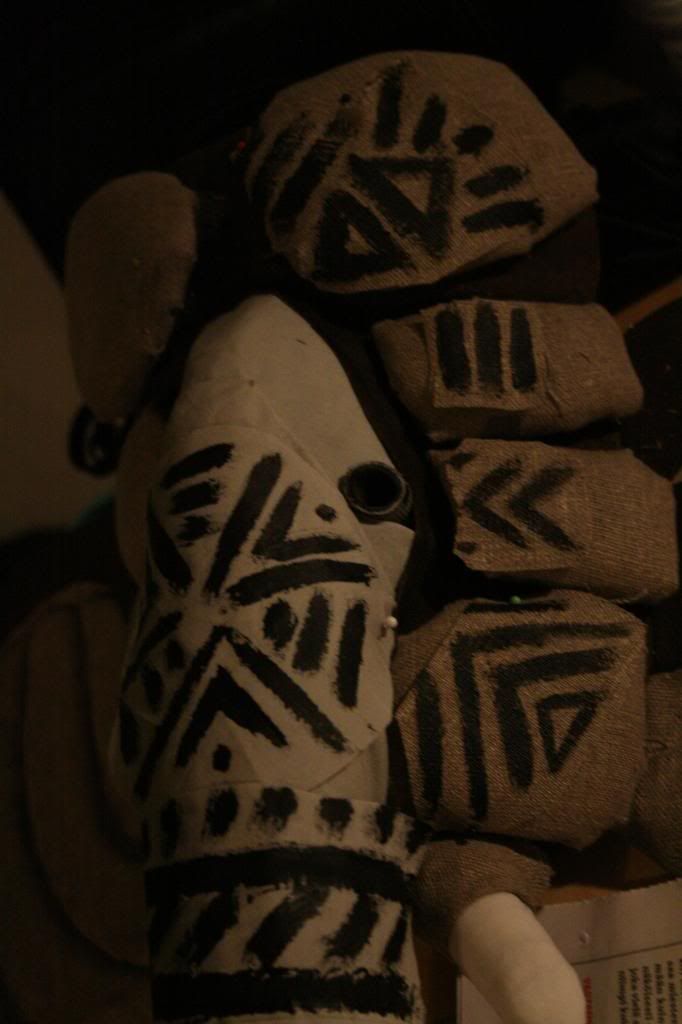
We're almost done here! Except for the painting and rigging. Designing and painting the markings was the most stressfull stage of making this mask. It's a thing you have to get right at the first try. The worst case scenario was that I'd ruin everything with one bad stroke of a brush. Thats why I did a huge amount of testing with separate pieces of fabric before actually starting to paint. 


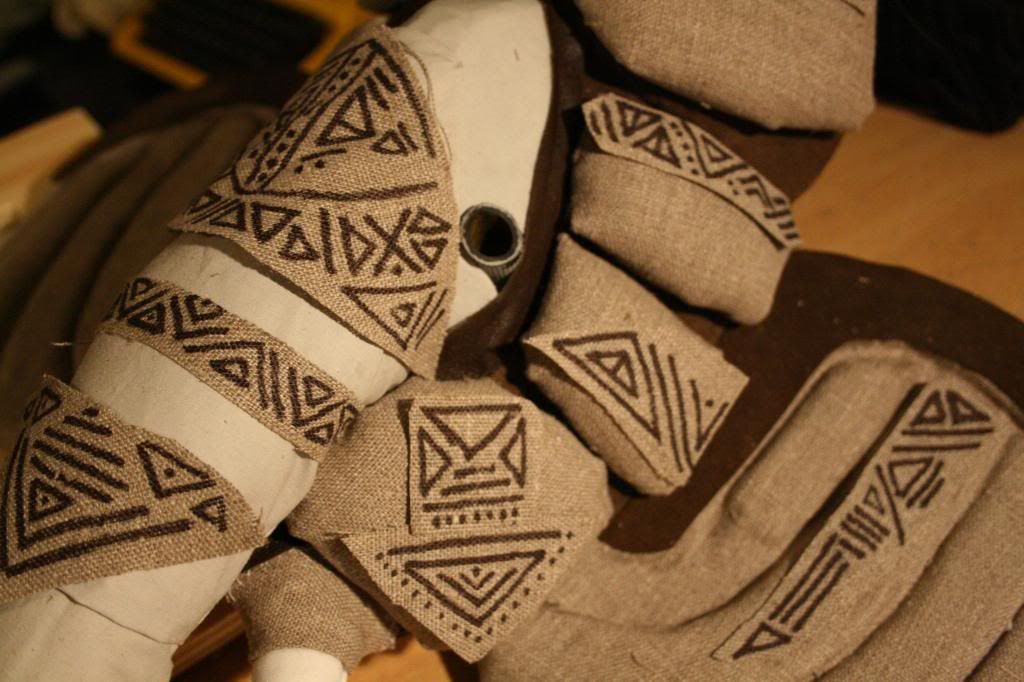
Tuomas had a specific vision about the markings and I send him different suggestions and examples of what it could look like. We ended up doing these rough brush strokes that form geometric patterns rather than symbols or lettering.


When the style was decided on all I had to do was to paint and attach a couple of starps at back. And here it is ready for wearing.
tiistai 19. kesäkuuta 2012

Sneek peak

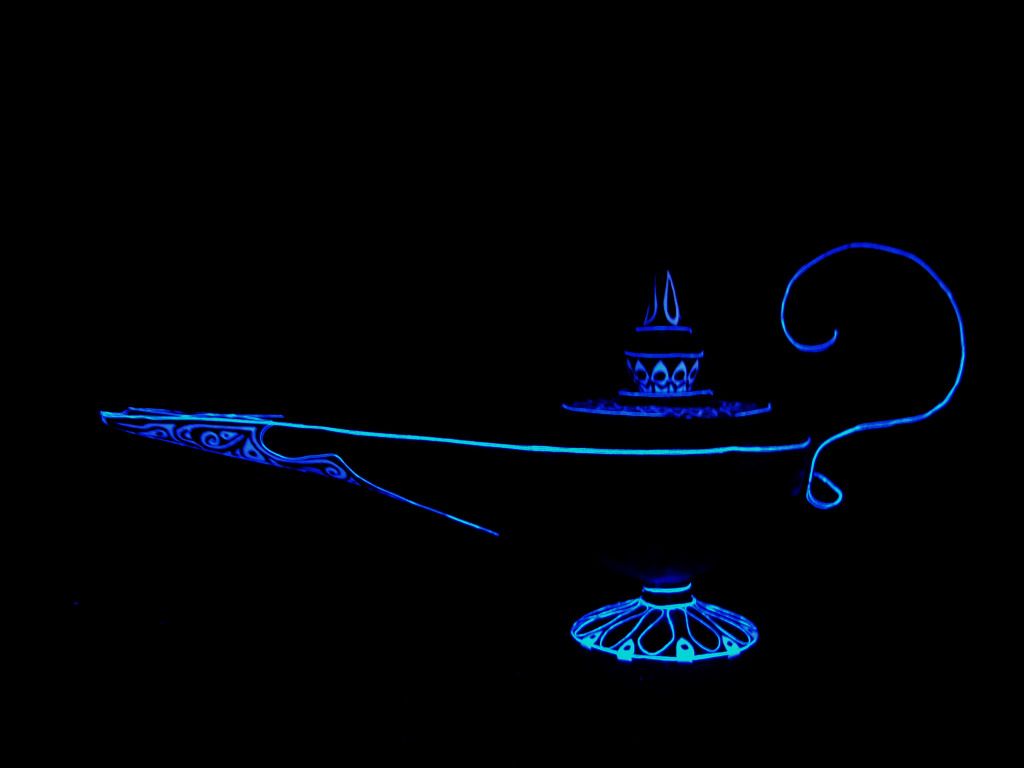
It's been over a month since my last update. I'm very excited about my new photo project. I'm shooting test pictures and everything is looking good so far. I'm dying to get this done as fast as I can, but it seems it's still going to take a while. I have a three-part photoshoot to do and lots of prop making still ahead of me. In the waiting I can offer you only this one snapshot.