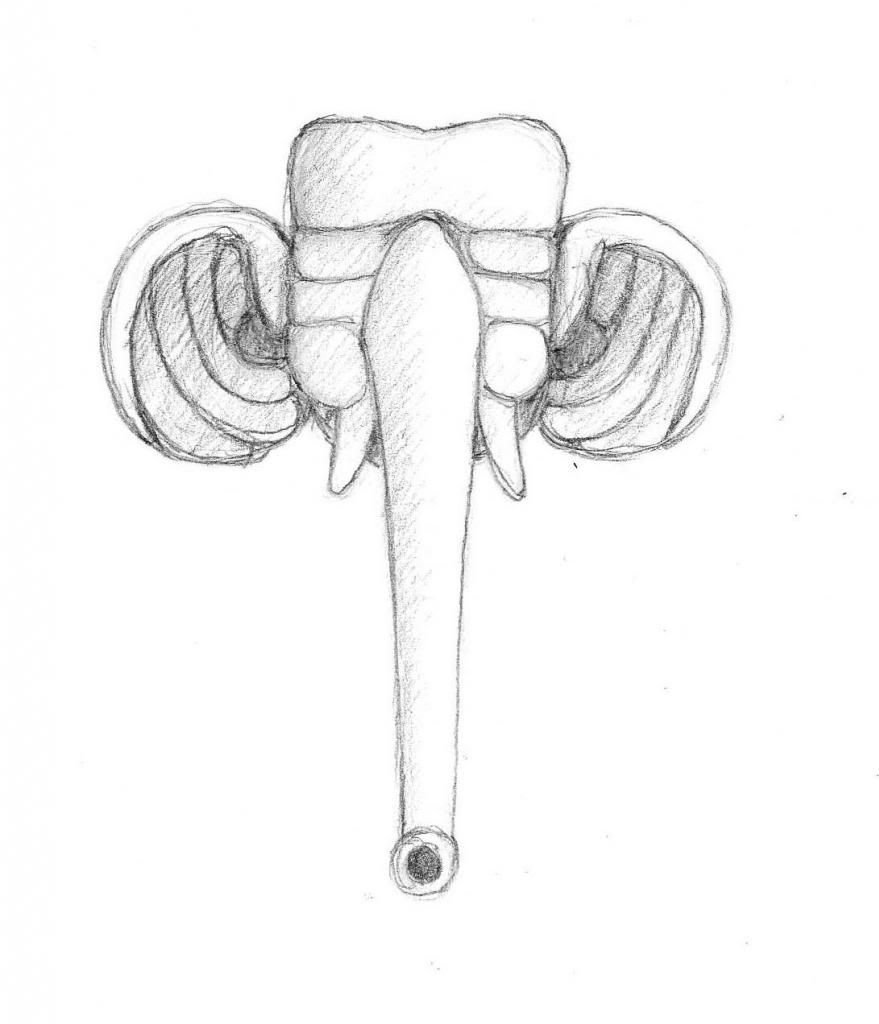
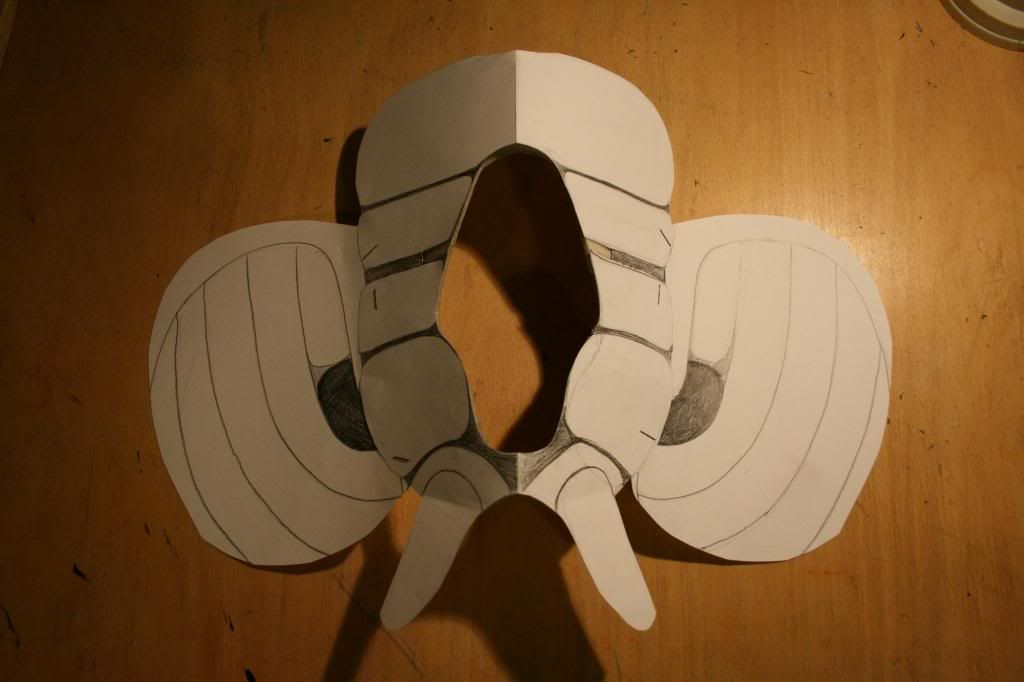
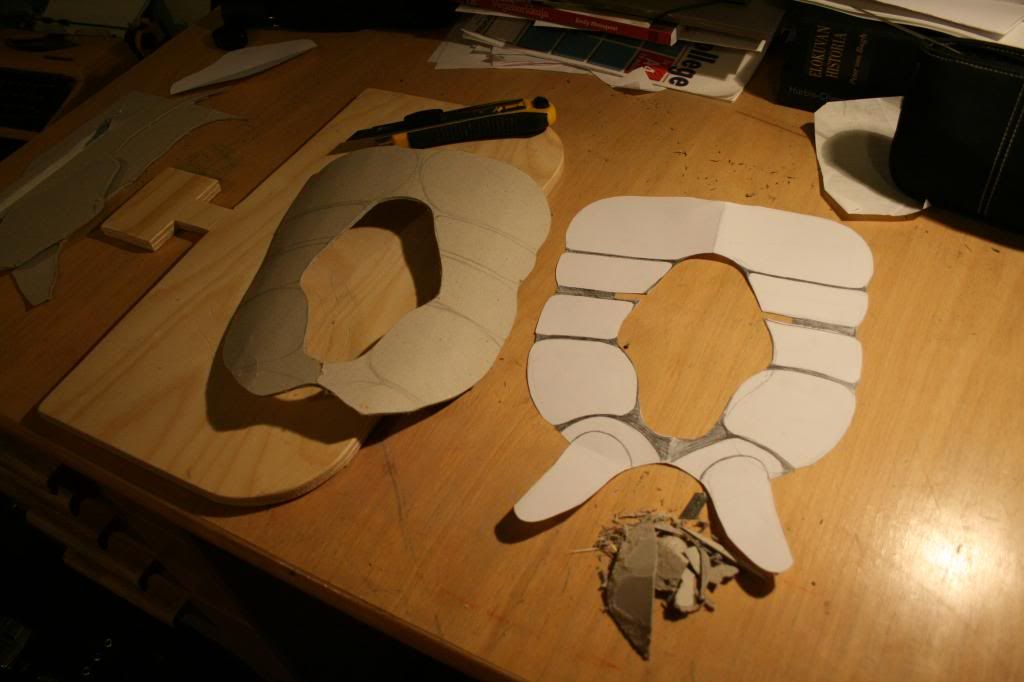
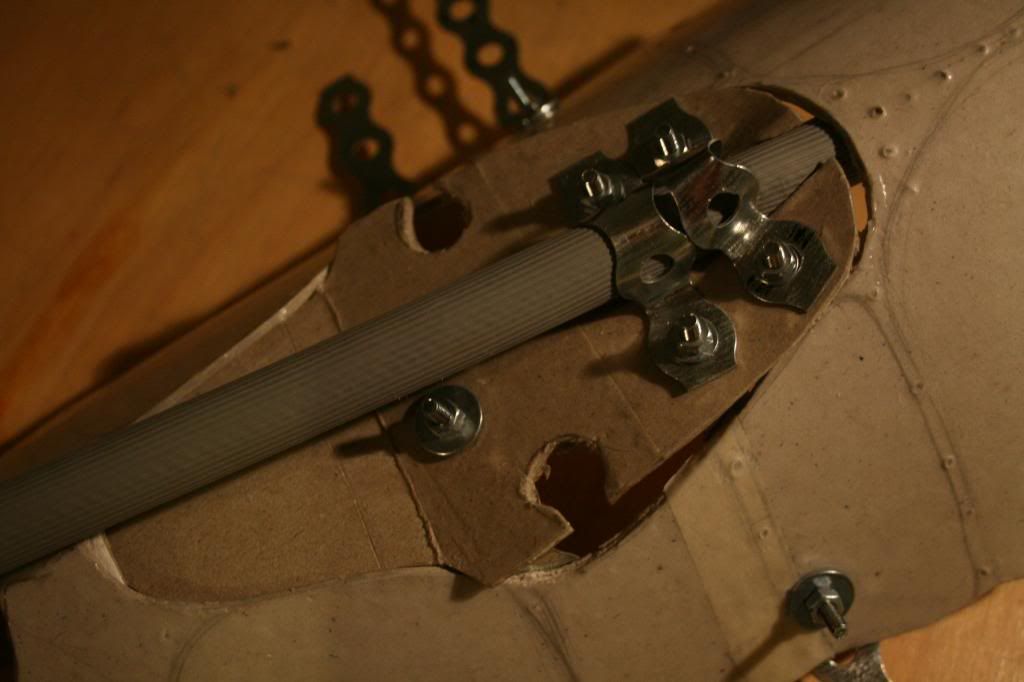
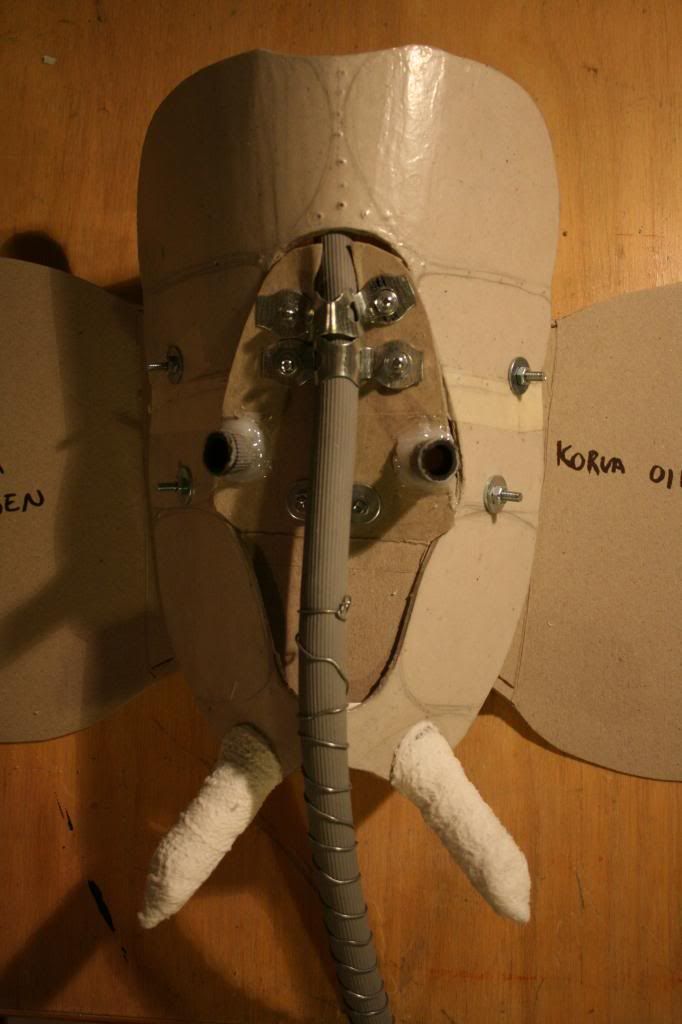
I cut the base of the mask out of very thick and hard cardboard. This is the kind of stuff that's very hard to cut with scissors or a knife. I had to switch to a small saw at one point. The good thing about cardboard is that its cheap and easier to handle than most materials. It wont be durable though unless you glue it in layers and coat it with something waterproof.
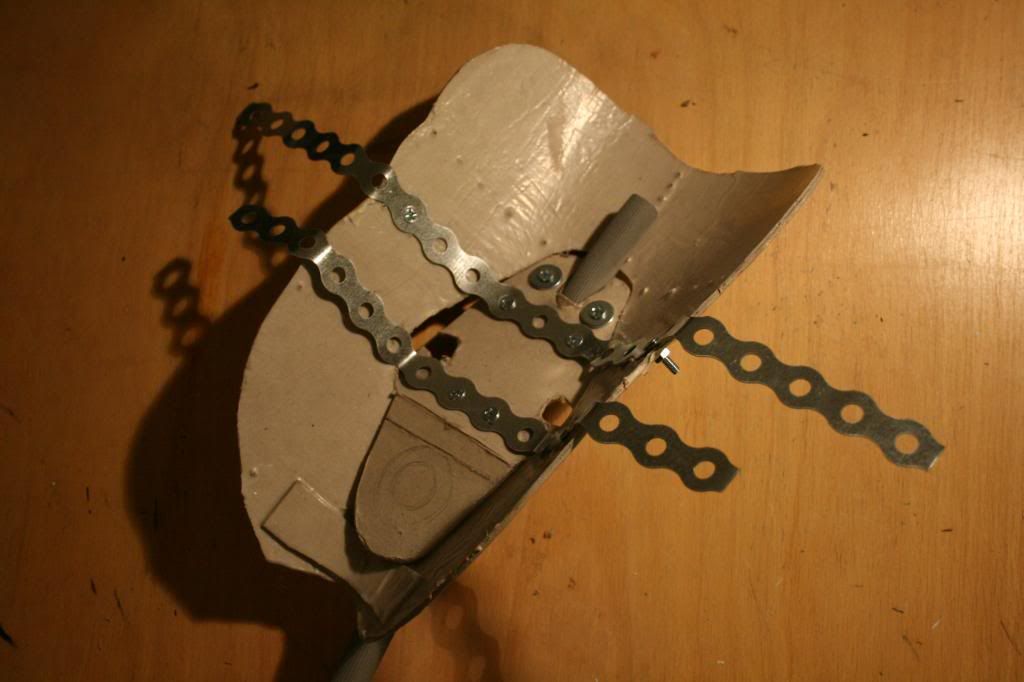
I also made a frame from metal which keeps everything together. My main concern was the trunk because it was going to take on some serious beating in the dance scenes. It had to be attached so that it wouldn't come off even if you swing it around or bumped into something with it.
The base of the trunk is actually rubber tubing from an old waching machine. The eye holes and tusks are made of the same tubing. Tusks are covered with layers of gauze and nylon for a soft edged look.
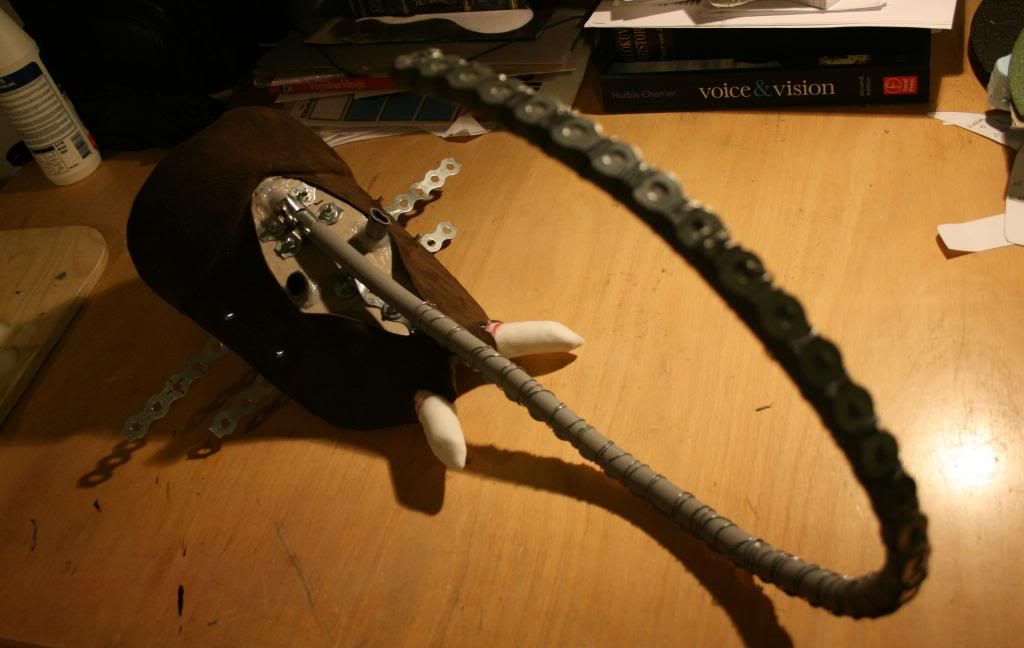
At this point I nicknamed him Frankenstein's Elephant for all the metal and screws sticking out of his face. Here's the base leather getting glued and the shapes of his face fabricated.
And the trunk curved to it's final position. It could be adjusted later on by bending the metal.
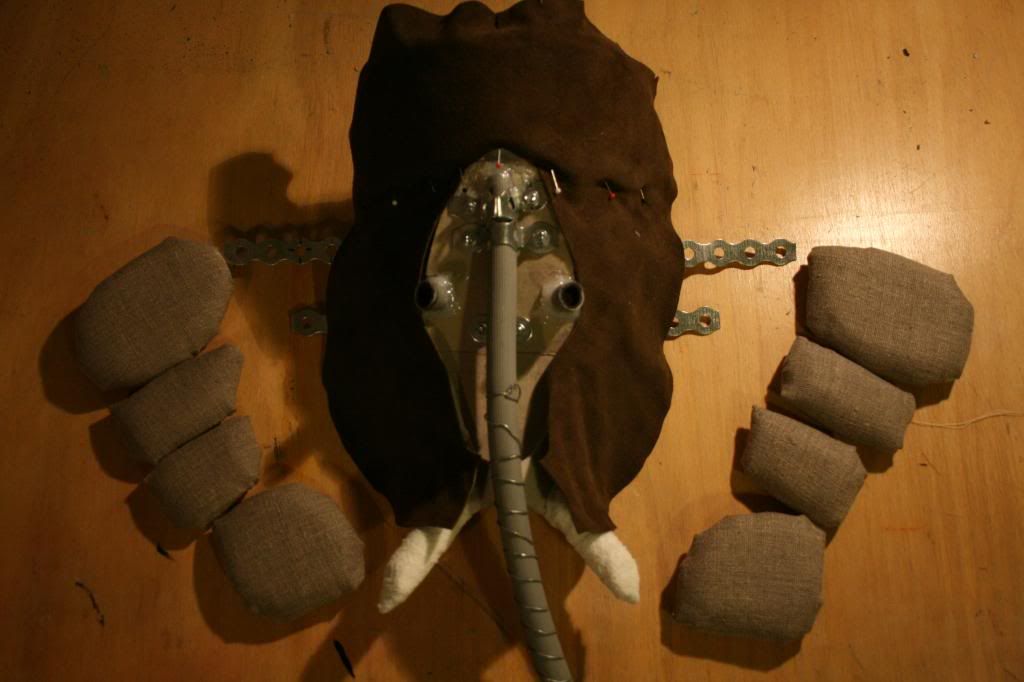
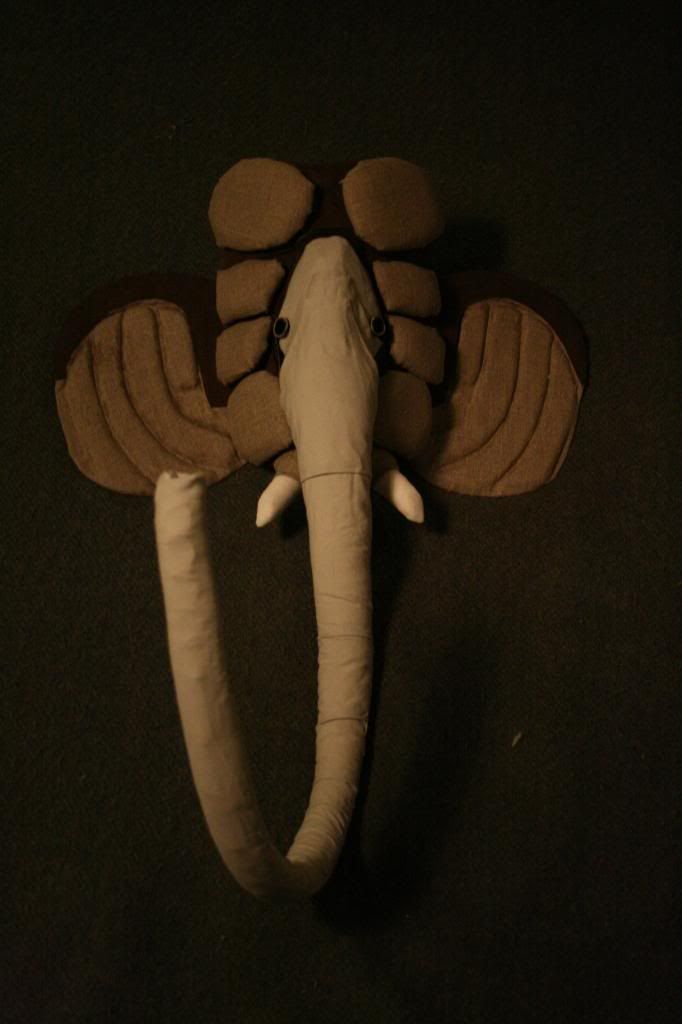
Test assembly with the trunk fabric and ears. Nothing is fixed to their place yet so I could change the positioning of things if needed. It's very important to see all the pieces together before doing anything irreversible.
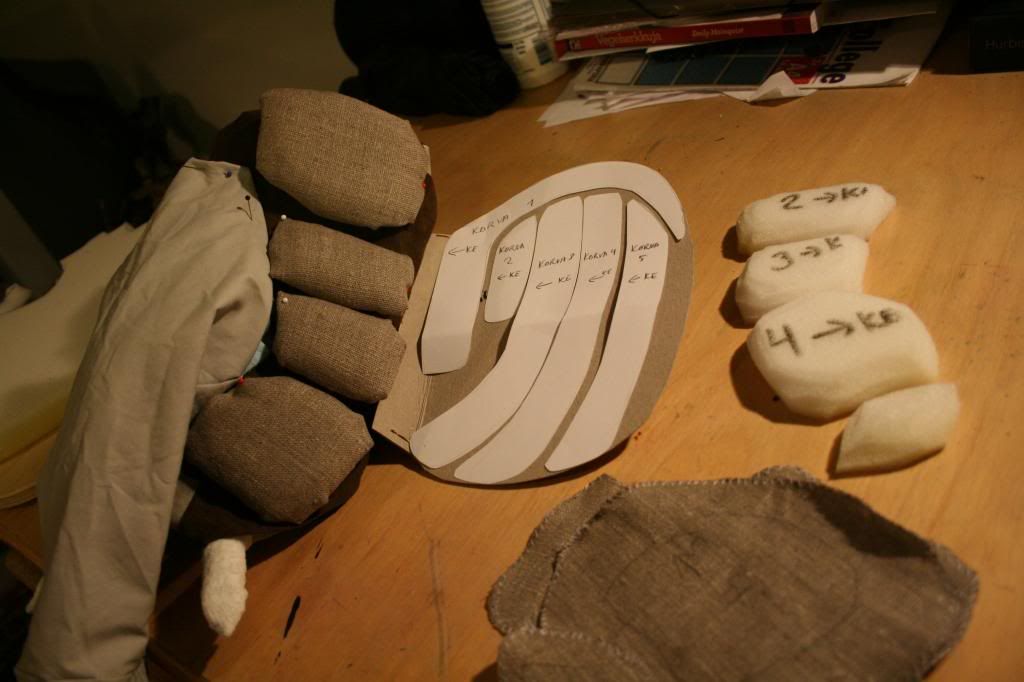
The trunk and ears were filled with finnfoam, gauze and different types of foam rubber. The trunk fabric was glued to the base. The same thing was done to the ears and shapes on the face.
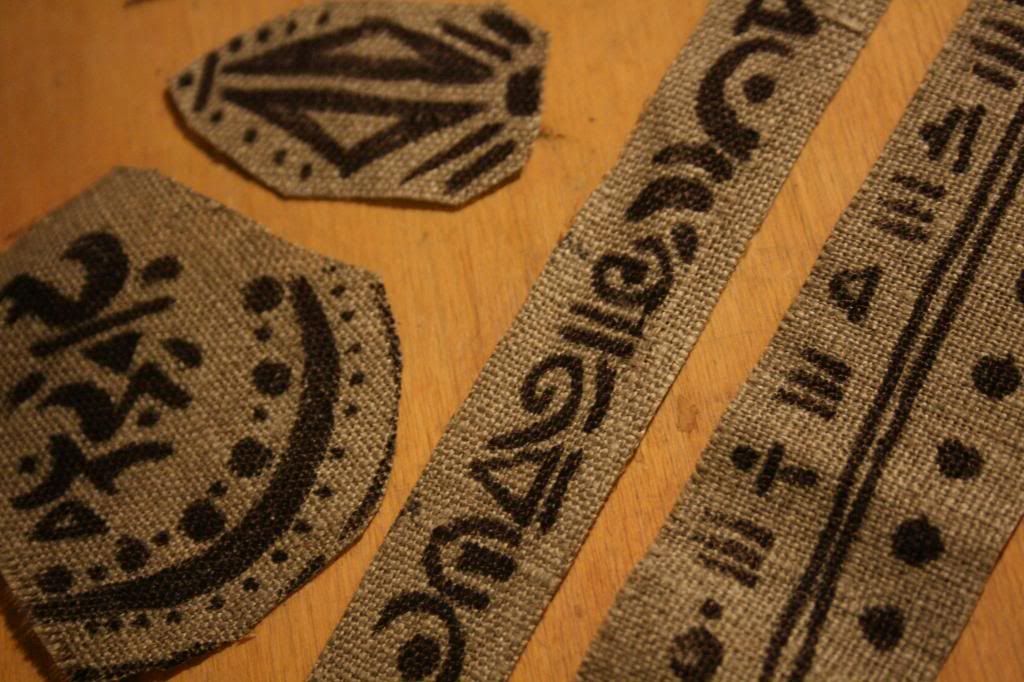
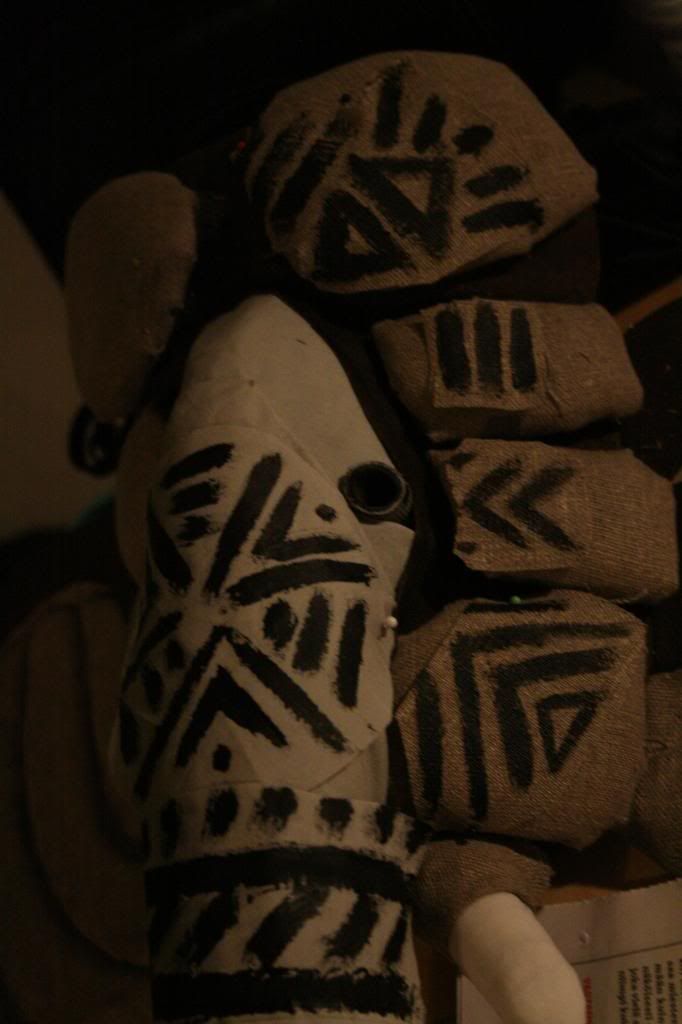
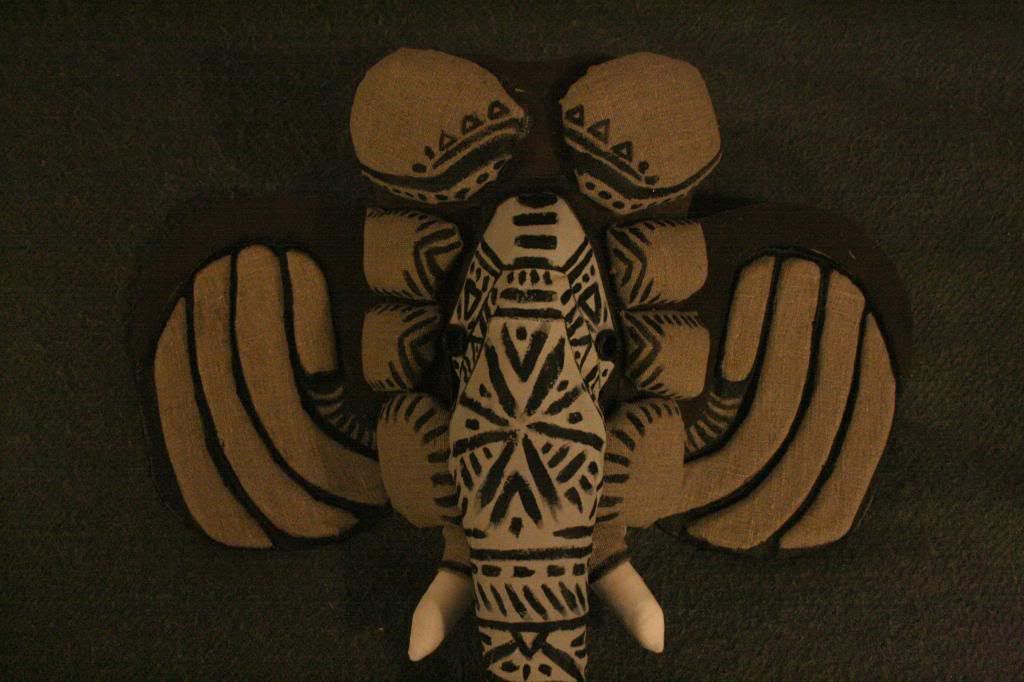
We're almost done here! Except for the painting and rigging. Designing and painting the markings was the most stressfull stage of making this mask. It's a thing you have to get right at the first try. The worst case scenario was that I'd ruin everything with one bad stroke of a brush. Thats why I did a huge amount of testing with separate pieces of fabric before actually starting to paint.
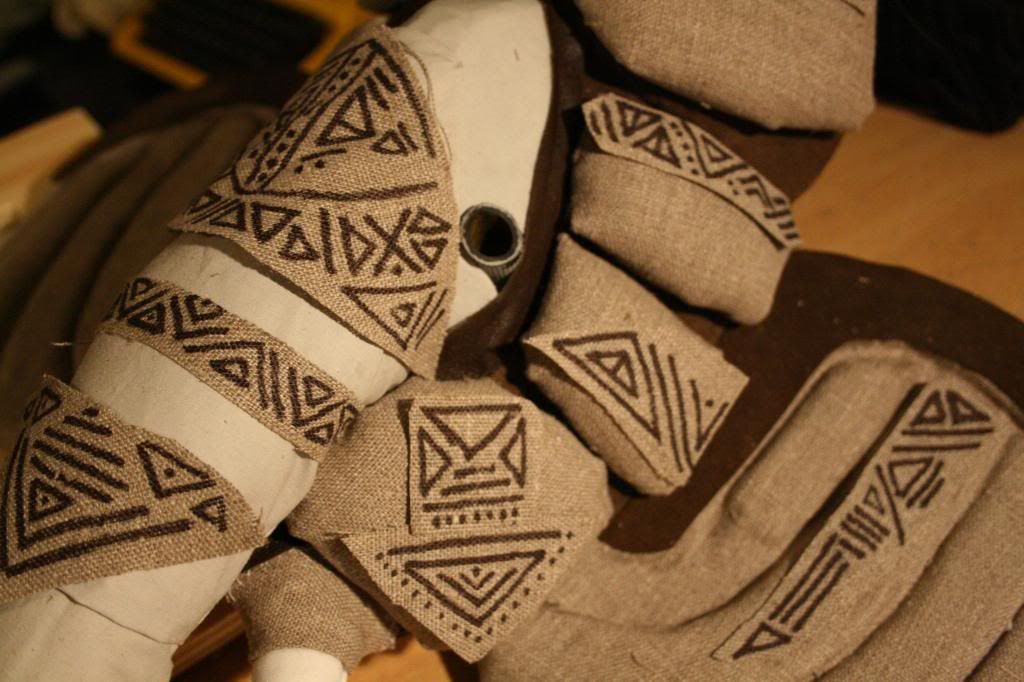
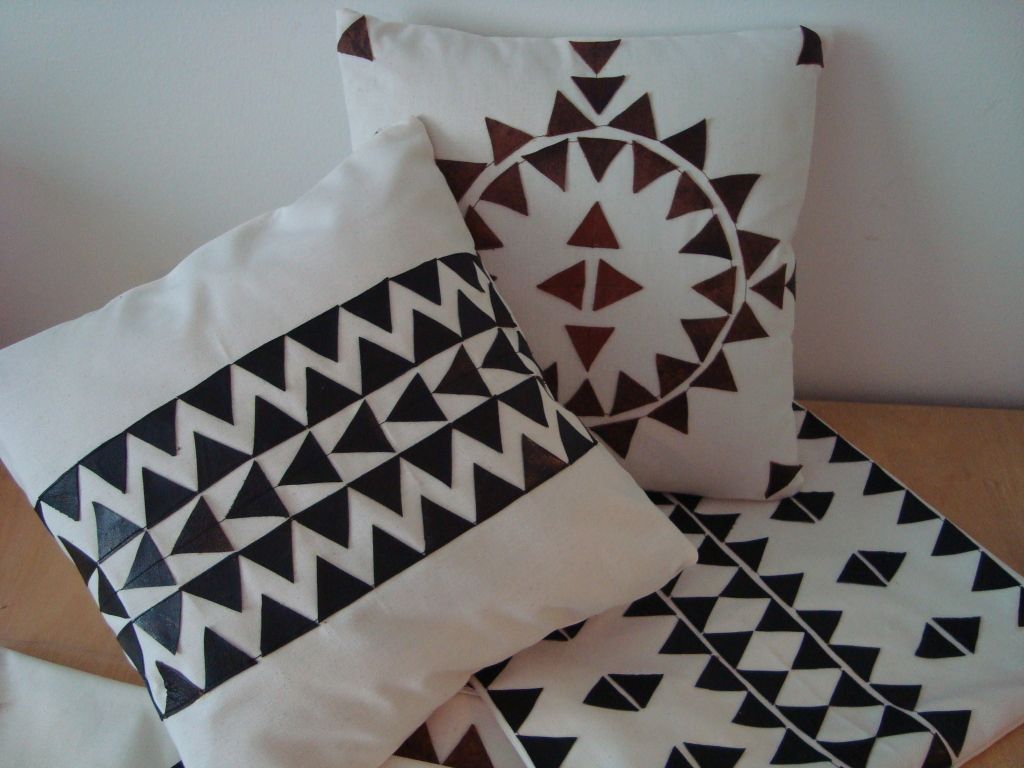
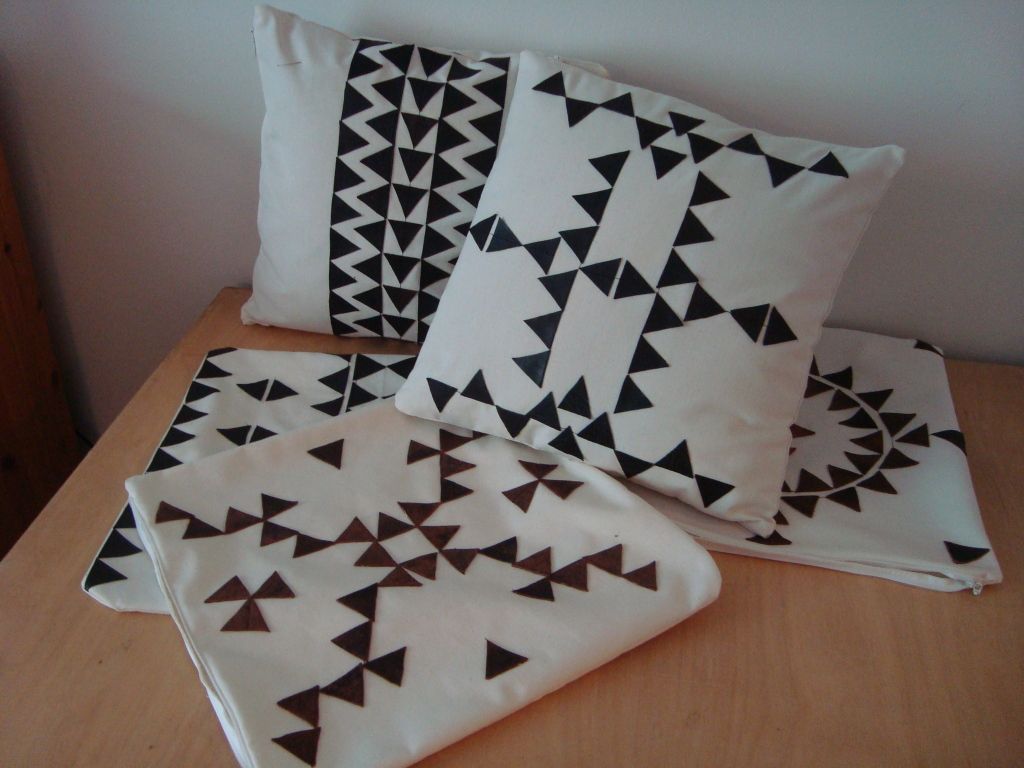
Tuomas had a specific vision about the markings and I send him different suggestions and examples of what it could look like. We ended up doing these rough brush strokes that form geometric patterns rather than symbols or lettering.
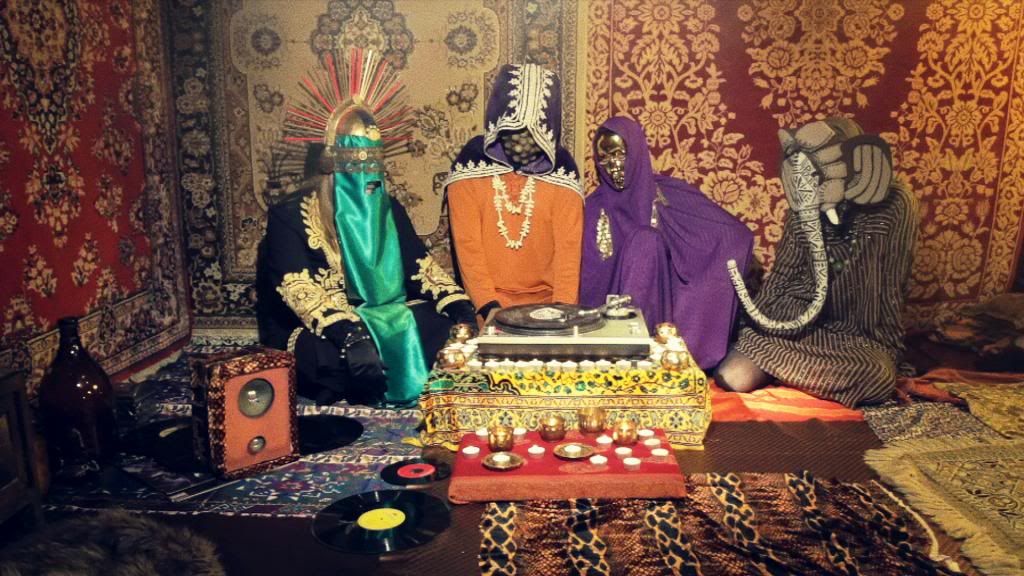
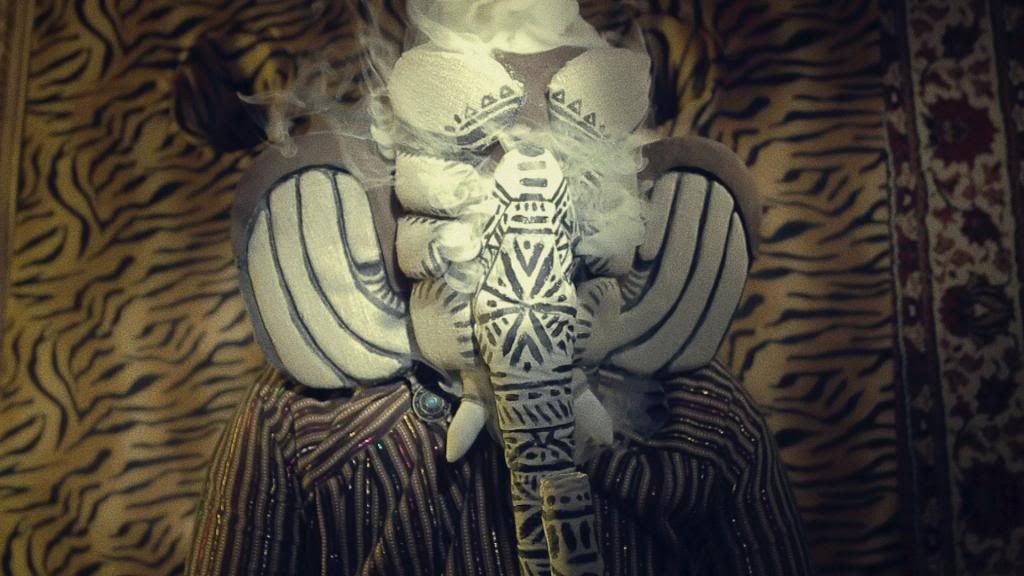
When the style was decided on all I had to do was to paint and attach a couple of starps at back. And here it is ready for wearing.
